As much as I love buying pdf sewing patterns from indie designers, cutting, assembling, and taping them together can take forever! Or, at least it used to.

Now I use the corner-cutting method to quickly put together printed sewing patterns.
Quick Pattern Assembly Using the Corner-Cutting Method

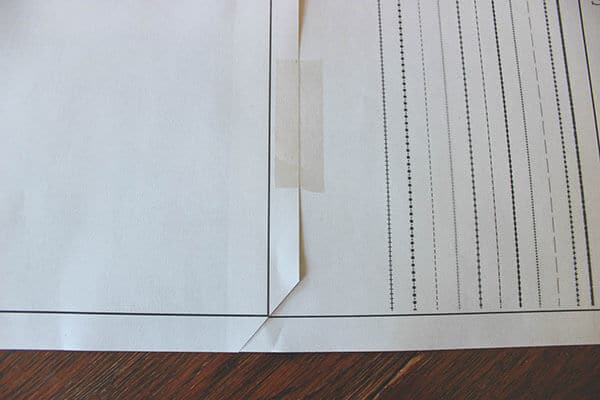
To start with, cut off the corners on the right-hand side of each pattern paper. You can skip the very last page of each row since you won’t need to match its right edges.

Match up the corners on the first row and tape the pages together. Make sure to leave room at the bottom right corner to slide the next row of papers in.
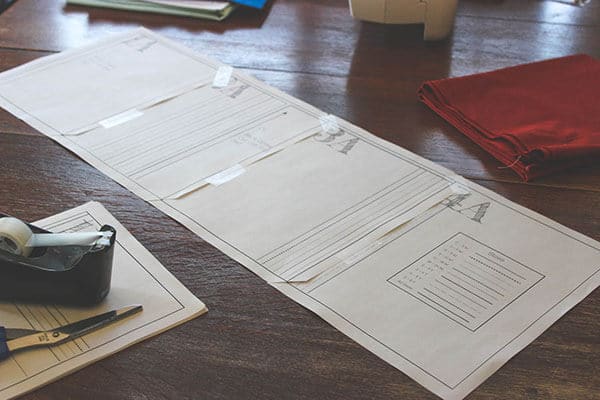
And voila! A taped together row of the sewing pattern. Repeat for each page of the next row, making sure to match with the bottom corners of the row above.
For the bottom/top corners, I place my left papers on top and layer the right papers underneath. The paper sandwich looks like this:

Altogether, the 2 patterns (24 pages total) I put together on this day took me roughly 10 minutes to fully assemble and roughly cut apart into separate pattern pieces.
What if the pattern has a ton of pages?
For pdf sewing patterns that have a lot of pages, I opt to have them printed for me on A0 paper rather than fussing with them at home. Typically I “save up” my big patterns to have a large number printed and shipped at one time.
I use PDF Plotting for printing my A0 printing.
What if the pattern doesn’t have a printshop version?
Not all pdf sewing patterns are sold with an A0 version. If yours isn’t, you can use the free software PDFStitcher to assemble the multi-page file into a file suitable for use with a print shop or projector.

This is pure genius! Thank you!
You’re very welcome!